Why Does My Thumb Hurt When I Play Volleyball?
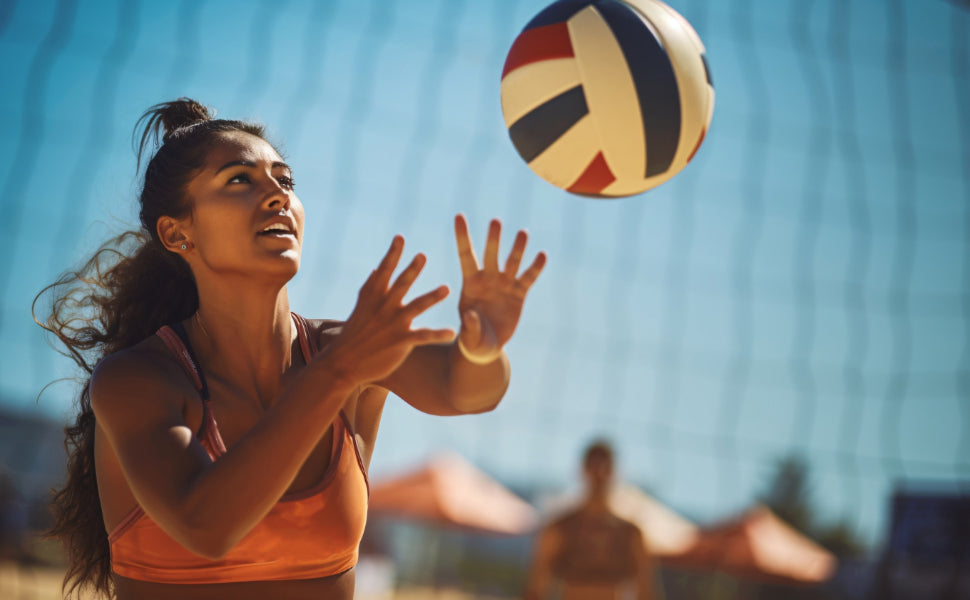
Volleyball demands quick reactions, continuous hand contact, and high-impact movements. Whether spiking an aggressive serve, blocking a hard-driven ball at the net, or setting up a teammate, the hands—and particularly the thumbs—take a massive amount of physical pressure. Thumb pain is one of the most common issues among volleyball players, ranging from mild soreness after a tournament to sharp, lingering pain that interferes with everyday tasks.
Understanding why thumb pain happens, how to treat early discomfort, and what protective strategies can keep players on the court is essential for long-term health and athletic performance. This comprehensive guide covers the primary causes of volleyball thumb pain, practical home management methods, and effective prevention techniques.
Causes of Thumb Pain in Volleyball
The thumb plays a pivotal role in almost every volleyball contact skill. Because it absorbs high forces while positioned away from the rest of the hand, it is exceptionally vulnerable to hyperextension, impact strain, and repetitive overuse.
Thumb Sprains and Ligament Strains
A sprain occurs when the tough bands of tissue connecting bones—the ligaments—stretch beyond their normal limit or tear. In volleyball, the ulnar collateral ligament (UCL) at the base of the thumb joint is particularly susceptible.
-
Hyper-abduction: Occurs when a fast-moving ball forces the thumb back toward the wrist or sideways away from the palm.
-
Partial or Full Tears: Ranging from minor microscopic stretching (Grade 1) to partial tears (Grade 2) or complete tears (Grade 3).
-
Common Scenario: Attempting to block a powerful spike where the ball strikes the tip of an extended thumb.
Jammed Thumbs
A "jammed thumb" is an axial loading injury. It happens when direct, force-on-force impact pushes the thumb straight back into its joint socket.
-
Joint Compression: The force compresses the joint surfaces, causing sudden inflammation, intense localized pain, and immediate swelling.
-
Loss of Mobility: Bending or straightening the thumb becomes painful and restricted.
-
Common Scenario: Misjudging a overhead set or digging a low drive where the ball hits the top of the thumb directly.
Overuse and Repetitive Strain Injuries (RSI)
Not all thumb pain comes from a single traumatic contact. Repetitive strain builds up gradually over long practices, heavy season schedules, or improper technical execution.
-
Tendonitis: Inflammation of the tendons surrounding the thumb base, caused by continuous tension during repetitive setting and passing.
-
Joint Fatigue: Overexertion of the stabilizing muscles around the metacarpophalangeal (MCP) joint.
-
Symptom Profile: Dull, aching pain that intensifies toward the end of practice or the morning after a game.
Identifying Common Symptoms and Severity Levels
Recognizing specific symptoms helps players determine how to adjust their activity and apply the correct support mechanisms before returning to training.
Mild Soreness and Fatigue
-
Visuals: Minimal or no swelling; no noticeable bruising.
-
Sensation: A dull ache or stiffness when moving the thumb joint.
-
Impact: Full movement is retained, but high-impact contacts feel uncomfortable.
Moderate Swelling and Bruising
-
Visuals: Visible puffiness around the base of the thumb; localized discoloration (purple or yellowish tone).
-
Sensation: Throbbing pain, stiffness, and weakness when gripping objects or making a fist.
-
Impact: Reduced mobility and sharp discomfort when contacting a volleyball.
Severe Instability or Deformity
-
Visuals: Significant swelling, dark bruising spreading down the hand, or unusual joint alignment.
-
Sensation: Inability to bear weight, hold lightweight objects, or move the thumb without severe pain.
-
Impact: Total loss of functional use in the affected thumb.

Immediate Steps for Managing Volleyball Thumb Discomfort
When thumb pain occurs during practice or a match, taking immediate action can prevent further tissue damage and speed up recovery times.
| Care Phase | Strategy | Action Details |
| Active Recovery Phase 1 | Rest | Stop play immediately; avoid gripping or pressing with the injured thumb. |
| Active Recovery Phase 2 | Cold Application | Apply ice packs wrapped in a thin towel for 15-20 minutes every 2-3 hours. |
| Active Recovery Phase 3 | Gentle Compression | Wrap the area with a flexible elastic bandage to control localized swelling. |
| Active Recovery Phase 4 | Elevation | Keep the hand elevated above heart level when resting to reduce fluid buildup. |
Taping and Wrapping Methods for Thumb Protection
Proper hand preparation offers structural support to vulnerable joints during intense rallies. Learning How to Wrap a Thumb for Volleyball is a valuable skill for any player looking to prevent joint hyperextension on the court.
Basic Athletic Taping Technique
-
Anchor Strip: Apply a flexible strip of non-elastic athletic tape around the wrist to serve as the foundation.
-
Figure-Eight Loops: Anchor the tape at the wrist, wrap it up over the back of the hand, loop around the base of the thumb joint, and bring it back down to the wrist.
-
Stabilizing Strips: Repeat the figure-eight pattern 2-3 times, slightly overlapping each strip to form a protective basket around the joint.
-
Locking Strip: Secure the loose ends by wrapping a final strip of tape around the wrist anchor.
Key Considerations When Wrapping
-
Maintain Neutral Positioning: Keep the thumb in a comfortable, relaxed, semi-bent position while applying tape.
-
Check Circulation: Ensure the tape is firm enough to stabilize the joint without causing numbness, tingling, or discoloration in the fingertip.
-
Pre-Tape Underwrap: Use thin foam underwrap beneath athletic tape to protect sensitive skin from irritation during frequent removal.
Choosing Protective Gear for On-Court Support
While athletic tape provides temporary rigidity, dedicated brace support offers consistent, reusable joint stabilization for training sessions and competitive matches. Wearing a quality thumb brace for volleyball helps absorb sudden impact forces and restricts hyper-flexion without hindering general hand mobility.
Essential Features to Look For
-
Targeted Immobilization: High-performance braces focus support specifically on the thumb base (MCP joint) while keeping the other four fingers completely free to move.
-
Breathable Material: Lightweight, moisture-wicking fabrics reduce sweat buildup and prevent slipping during long matches.
-
Low-Profile Structure: Streamlined designs fit comfortably inside volleyball gloves or work seamlessly under standard team handwear.
Specialized Brace Options
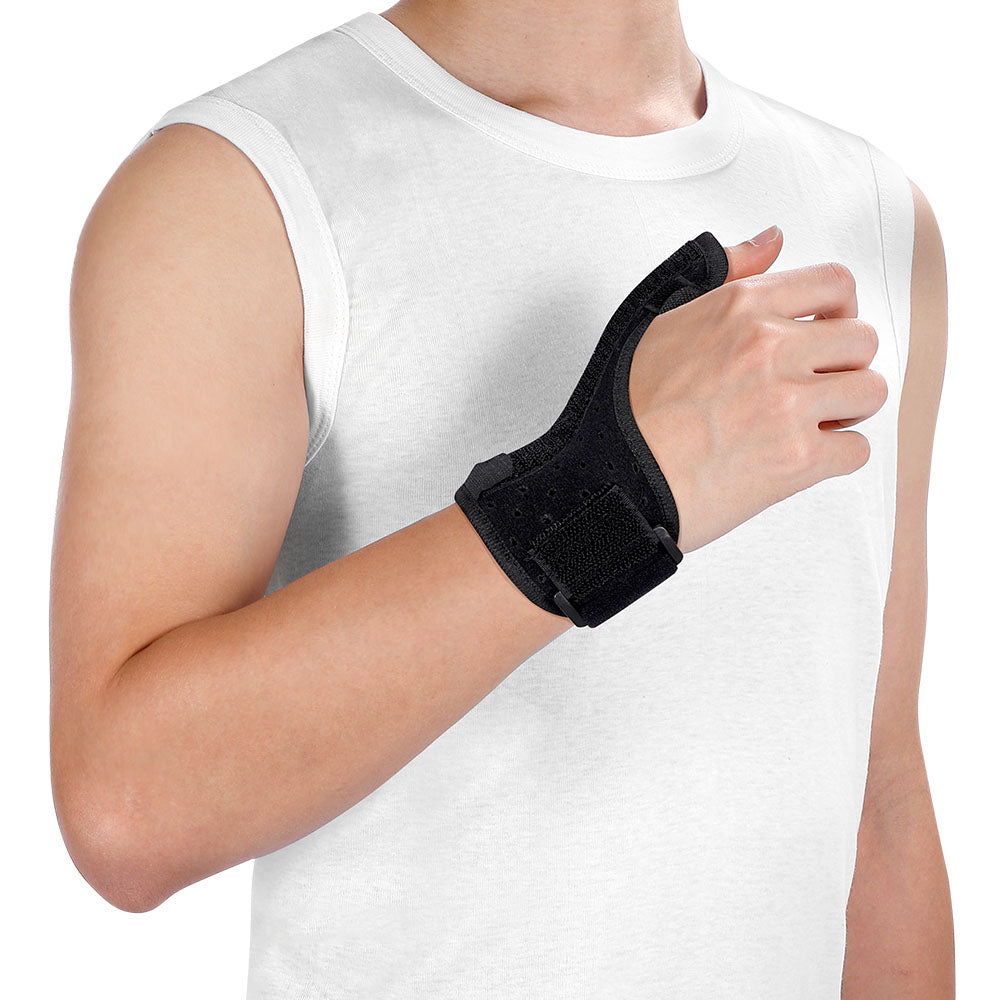
Using gear specifically designed for sports performance ensures both protection and comfort. The fivali thumb splint brace provides focused support across the base joint, helping players maintain proper thumb positioning during digs, sets, and blocks while reducing impact stress.
Integrating reliable Fivali athletic equipment into a regular routine allows players to protect recovering joints and approach high-impact contacts with renewed confidence.
✧ Fivali Thumb Spica Splint Brace 1 Pack FWR01
- Thumb Protection
- Metal Support
- Aid in Injury Recovery
- Seamless Integration into Daily Life
Strategies to Prevent Thumb Injuries in Volleyball
Long-term protection relies on combining proper technical execution with physical conditioning and appropriate protective equipment.
Refine Ball-Contact Mechanics
-
Setting Technique: Ensure hands form a firm, rounded shape ("soft hands") with equal distribution of force across all fingertips rather than letting thumbs absorb the entire direct momentum.
-
Blocking Alignment: Keep fingers strong, spread, and slightly flexed forward into the opponent's court rather than letting thumbs drift backward horizontally toward the net tape.
-
Digging Form: Clench fists together properly during forearm passes so thumbs rest flat along the top rather than crossing over or sticking out sideways.
Strengthen Hand and Forearm Muscles
-
Pinch-Grip Exercises: Practice holding lightweight weight plates or resistance objects between the thumb and fingers to strengthen stabilizing pinch muscles.
-
Hand Gripper Routines: Utilize hand squeezers or stress balls to build balanced tension across the palm and flexor tendons.
-
Rubber Band Extension: Place an elastic band around the outside of the thumb and fingers, opening the hand outward against resistance to build extensor balance.
Regular Gear Maintenance and Hand Care
-
Re-evaluate tape tension and brace fit before every training session.
-
Allow adequate time for tissues to warm up through light hand stretches and warm-water routines before high-intensity practice.
-
Replace worn-out protective sleeves or braces as soon as they lose their elastic compression and structural support.
Maintaining strong, healthy hands is key to enjoying volleyball and staying competitive season after season. By identifying the root causes of thumb discomfort early, applying proper taping methods, utilizing specialized protective braces, and practicing sound mechanical technique, players can minimize downtime, protect their joints, and play with confidence on every point.