


The Definitive Guide: How to Precisely Measure Sports Braces for Optimal Support & Recovery
You’ve decided you need a sports brace. Whether you're recovering from an injury, preventing a new one, or just looking for extra stability, you’re already on the right track. But now you face the most critical step—choosing the right size. An ill-fitting brace isn’t just uncomfortable; it can undermine your recovery, hinder performance, and even create new problems.
A "close enough" approach won't work here. The difference between optimal support and a frustrating waste of money often comes down to a few millimeters. This guide is designed to remove the guesswork. We'll walk you through the exact steps to measure for knee, ankle, back, and wrist braces, so you can feel confident you're getting the effective support you need to stay active and pain-free.

Why Every Millimeter Matters
Think of a sports brace as a precision tool. For it to work, it has to fit the job perfectly. A properly sized brace provides targeted compression and structural support right where you need it, which helps improve proprioception—your body's awareness of its position in space. This heightened awareness helps you move more confidently and reduces the risk of missteps that can lead to injury.
The data backs this up. Studies have shown that a well-fitted ankle brace can reduce the risk of acute ankle injuries by as much as 61-70%. On the other hand, a poorly fitted brace can lead to a host of problems:
- Reduced Effectiveness: Too loose, and it won't provide the necessary support.
- Chafing and Skin Irritation: Constant rubbing from a brace that’s too tight or slides around is a common complaint.
- Restricted Circulation: A brace that's too tight can cut off blood flow, causing numbness or tingling.
- A False Sense of Security: An ill-fitting brace might make you feel protected, leading you to overexert yourself and risk further injury.
Getting the size right isn't just a recommendation; it's the foundation of effective support and a smooth recovery.
Common Sizing Mistakes That Sabotage Your Support
Buying a brace online is convenient, but it also opens the door to a few common sizing errors. Avoiding these pitfalls is the first step toward finding your perfect fit.

Mistake 1: Measuring Over Clothing
Measuring over your pants or a thick sock can easily add a half-inch or more to your measurement, throwing off the size completely. Always measure directly against your skin for the most accurate reading.
Mistake 2: Guessing Based on Pant or Shoe Size
Your jean size has little to do with the circumference of your natural waist where a back brace sits. The same goes for ankle braces; while shoe size is a helpful reference, ankle circumference is the most accurate predictor of fit.
Mistake 3: The "Taffy Tape Pull"
When you wrap the measuring tape, it should be snug but not tight. If you're pulling so hard that it's digging into your skin, your measurement will be smaller than it should be, leading you to buy a brace that's too tight. Let the tape rest comfortably on your skin.
Mistake 4: Measuring an Injured or Swollen Area
If you're measuring a joint that's currently swollen, the size you get won't be accurate once the swelling goes down. If possible, wait for the swelling to subside. If you must measure with swelling, consult the product's sizing guide or customer service for advice—many adjustable braces can accommodate minor fluctuations.
Your Step-by-Step Measurement Guide
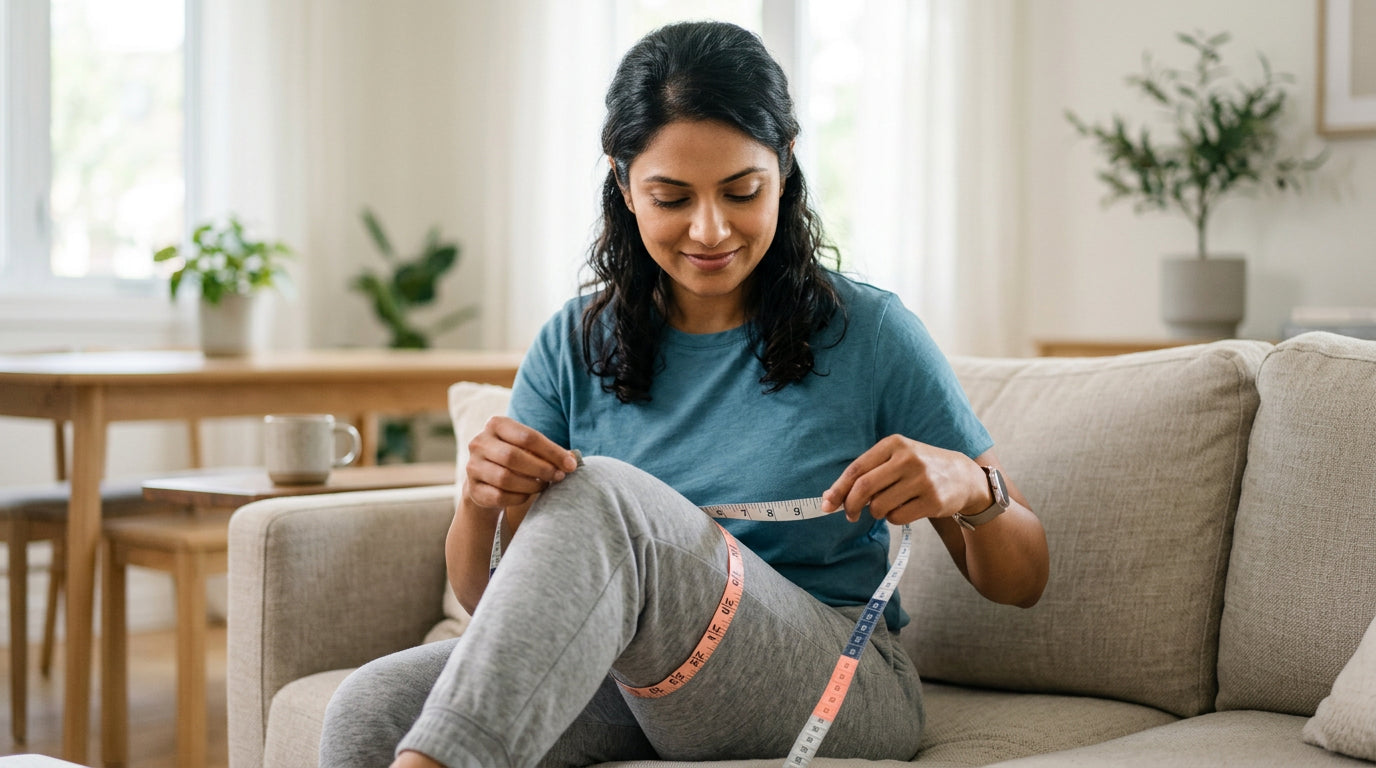
Ready to find your size? Grab a flexible measuring tape (the kind used for sewing works best) and follow these simple instructions. For best results, always measure two or three times to ensure consistency.
Measuring for Knee Braces
The correct measurement process depends on the type of knee brace you're considering.
- For Compression Sleeves: Most knee sleeve sizing is based on the circumference of your thigh. Stand in a relaxed position with your leg straight. Using your flexible tape, measure the circumference of your thigh about 5-6 inches above the center of your kneecap. This is the key measurement for finding the right size on most sizing charts for knee sleeves. If you're wondering how to measure for knee sleeves specifically, this single measurement is usually all you need.
-
For Hinged or Wraparound Braces: These often require multiple measurements for a precise fit.
- Thigh Circumference: Measure 6 inches above the center of your kneecap.
- Knee Center Circumference: Measure directly around the middle of your kneecap.
- Calf Circumference: Measure 6 inches below the center of your kneecap.
If you have larger legs, finding a brace that doesn't slip can be a challenge. A plus size knee brace is designed with extended straps and a wider fit to accommodate you comfortably. Be sure to follow the specific sizing chart, as these are often different from standard sizes. And if you're experiencing a burning sensation unrelated to the brace, it’s always good to understand why your knee might be burning and consult a professional.
Measuring for Ankle Braces
A secure ankle brace starts with an accurate measurement. There are two primary methods, and product pages will specify which to use.
- Ankle Circumference: Sit with your foot off the floor. Wrap the measuring tape around the narrowest part of your ankle, just above the ankle bones.
- Heel-Instep Circumference: For lace-up or more complex braces, you may need to measure diagonally from the top of your foot, around the back of your heel, and back to the start.
While shoe size can be a secondary guide, relying on circumference is the best way to learn how to measure for an ankle brace correctly.
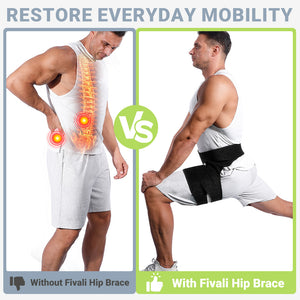
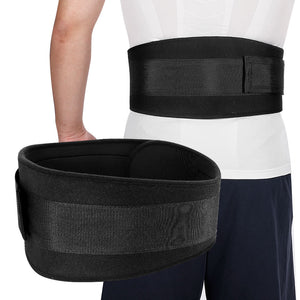
Measuring for Back Braces
This is one of the most common places people make mistakes. Do not use your pant size.
Instead, stand up straight in a relaxed position. Wrap the measuring tape around your body at the level of your belly button. Make sure the tape is level all the way around your back. This measurement gives you the true circumference your brace needs to support, which is especially important when choosing a comfortable back brace for all-day wear.
Measuring for Wrist Braces
For wrist support, precision is key to ensuring you don't restrict mobility too much.
- Use your measuring tape to find the circumference of your wrist at its narrowest point, typically just below the two prominent bones on either side.
If you are looking for the best brace for wrist tendonitis, a proper fit ensures that the compression is applied correctly to alleviate symptoms without causing further irritation.
Decoding Sizing Charts: When You're Between Sizes & Material Matters
You’ve taken your measurements, but you’ve landed right between a Medium and a Large. What do you do? The answer often depends on the brace's material and purpose.
- For Compression Sleeves (Knitted/Elastic): These are designed to be snug. If you are between sizes, sizing down will provide a higher level of compression. If you prefer a more moderate fit, sizing up may be more comfortable.
- For Adjustable or Rigid Braces (Neoprene/Hinged): These braces often have straps that allow for a more customized fit. If you are between sizes here, it's generally safer to size up. You can always tighten a strap, but you can't add more material to a brace that's too small.
Always check the product description for specific advice. At Fivali, we often recommend sizing up for adjustable braces and provide clear guidance on our product pages for compression-based gear.
The Fivali Fit Philosophy: Precision You Can Trust
At Fivali, we believe that an effective brace is a well-fitting brace. That’s why we are committed to helping people live active lives without pain holding them back. We offer an extensive range of sizes designed to fit a wide variety of body types, because support shouldn't be one-size-fits-all.
Every Fivali product page features a detailed, easy-to-read sizing chart specific to that item. We've taken the time to create these guides so you can match your precise measurements to the perfect size. Our goal is to empower you with the knowledge to choose correctly the first time, so you can get back to doing what you love with confidence.
Frequently Asked Questions About Brace Sizing
- Why is accurate sizing so important for sports braces?
- A properly sized brace provides targeted compression and structural support, improving proprioception and reducing injury risk. An ill-fitting brace can reduce effectiveness, cause chafing, restrict circulation, or provide a false sense of security, potentially hindering recovery and performance.
- What are the most common mistakes people make when measuring for a brace?
- Common mistakes include measuring over clothing, guessing based on pant or shoe size, pulling the tape too tight, and measuring an injured or swollen area. Always measure directly against the skin, with the tape snug but not digging in, and ideally when swelling has subsided.
- How do I measure for a knee brace?
- For compression sleeves, measure your thigh circumference 5-6 inches above the kneecap while standing with your leg straight. For hinged or wraparound braces, you may also need measurements around the center of the kneecap and 6 inches below.
- How do I measure for an ankle brace?
- Typically, you measure the ankle circumference at its narrowest part, just above the ankle bones. Some braces, especially lace-up or more complex designs, may require a heel-instep circumference, measured diagonally from the top of your foot around the back of your heel.
- How do I measure for a back brace?
- Stand straight in a relaxed position and measure around your body at the level of your belly button, ensuring the tape is level all the way around your back. Do not use your pant size as this is not an accurate indicator for brace sizing.
- What if my measurement falls between two sizes on the sizing chart?
- For compression sleeves (knitted/elastic), sizing down usually provides higher compression, while sizing up offers a more moderate, comfortable fit. For adjustable or rigid braces (neoprene/hinged), it's generally safer to size up as you can always tighten straps for a custom fit, but you can't add material to a brace that's too small. Always check the specific product's recommendations.
- How tight should a brace feel when I first put it on?
- A brace should feel snug and supportive without causing pain, pinching, numbness, or deep red marks. You should typically be able to slide one or two fingers between the brace and your skin. If it feels too restrictive, it's likely too tight.
- My brace keeps slipping down during activity. What does this mean?
- Slipping is a clear indication that your brace is likely too large. If you've tightened it fully and it still slides, you probably need a smaller size for effective support. Consulting resources on how to keep a knee brace from sliding down can offer tips, but correct sizing is the primary solution.
- Can using an incorrectly sized brace worsen my injury or cause new problems?
- Yes. A brace that is too loose won't provide necessary stability, leaving your joint vulnerable to re-injury. One that is too tight can restrict crucial blood flow needed for healing and alter your natural movement, potentially straining other joints and muscles.
- What considerations are important when choosing a back brace for prolonged sitting?
- For all-day wear, especially when sitting, comfort and breathability are paramount. Look for designs made from comfortable materials that won't dig into your sides, and always ensure the fit is based on your belly button circumference for optimal, sustained support without discomfort.
Confidently Choose Your Fivali Fit
You now have the tools and knowledge to measure yourself accurately and navigate sizing charts like a pro. Taking just a few minutes to get it right will pay off in hours of comfortable, effective support.
Armed with this guide, you can confidently explore Fivali's range of sports braces. Find the product that meets your needs, match your measurements to our detailed sizing charts, and get ready to experience the difference a perfect fit can make.


